AutoCAD is a powerful computer-aided design (CAD) software used for creating technical drawings and designs, but how to make a dotted line in AutoCAD or autocad dotted line.
One of the many features of AutoCAD is the ability to create dotted lines. Dotted line autocad can be used to indicate a break in a line, to indicate a hidden line, or to add emphasis to a particular line.
How to draw dotted line in AutoCAD (Easy ways)?
Here are the steps for how to make a dotted line in autocad:
- Step 1: Open AutoCAD and start a new drawing or open an existing drawing that you want to add a dotted line to.
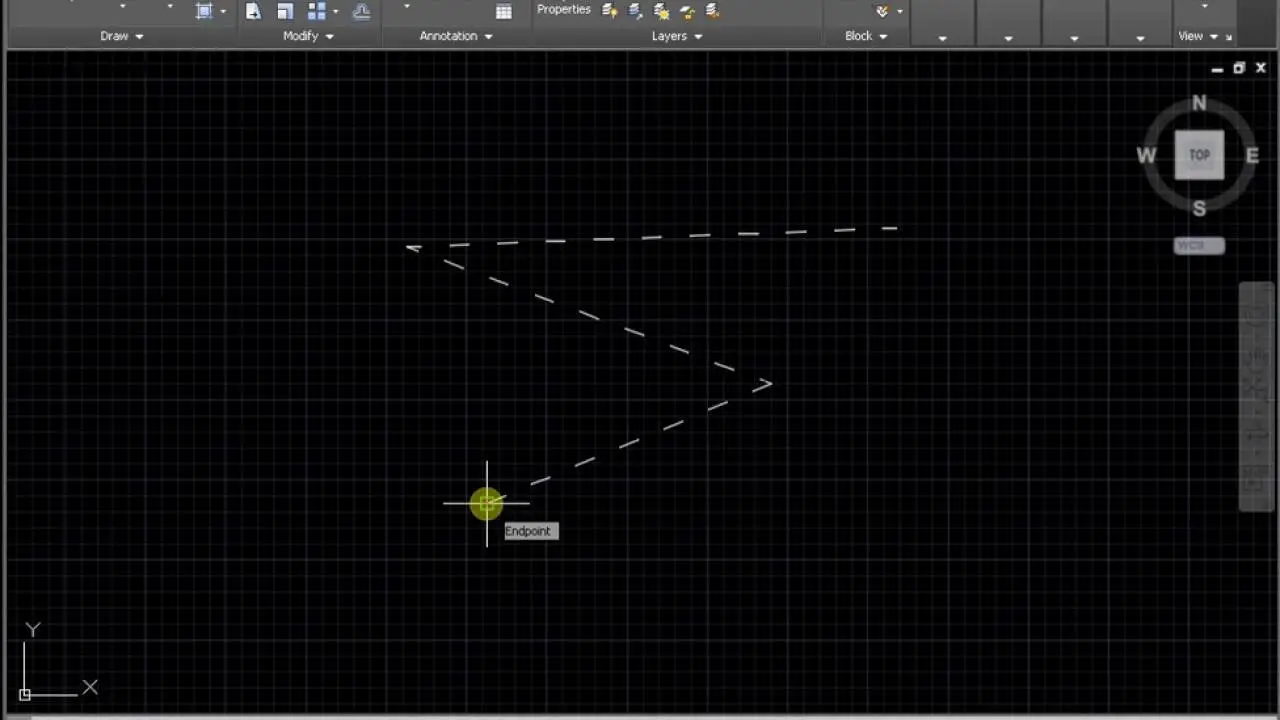
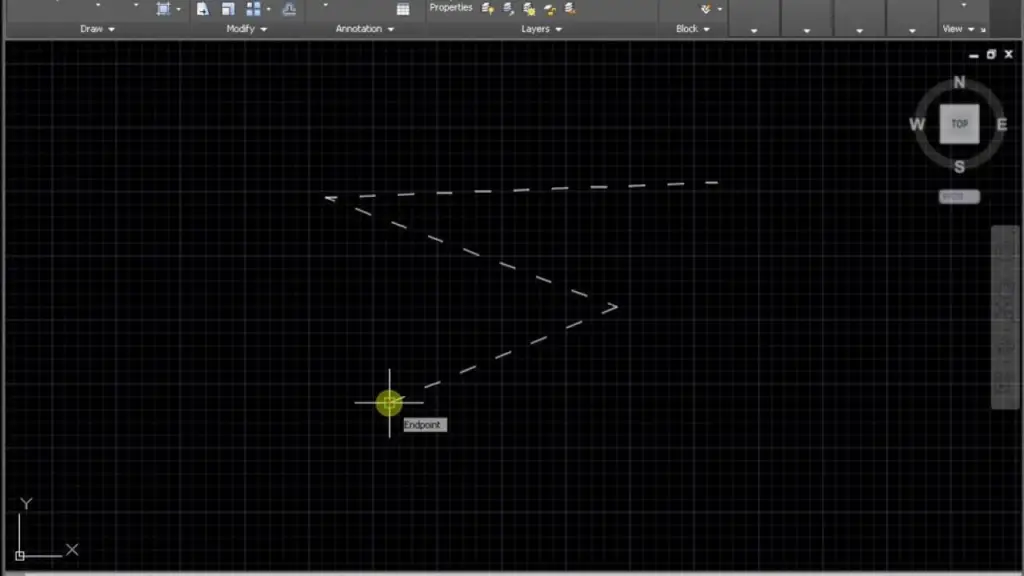
- Step 2: Select the “Line” command from the “Draw” menu or type “Line” in the command line and press enter. This will activate the line tool and allow you to draw a line on your drawing.
- Step 3: Click on the starting point of your line and then move your cursor to the end point of the line. Click again to define the end point of the line.
- Step 4: Once the line is drawn, right-click on the line and select “Properties” from the context menu. This will open the Properties palette, where you can change various properties of the line, including the linetype.
- Step 5: In the Properties palette, locate the “Linetype” section. Here, you can select a predefined linetype from the drop-down list or create a custom linetype.
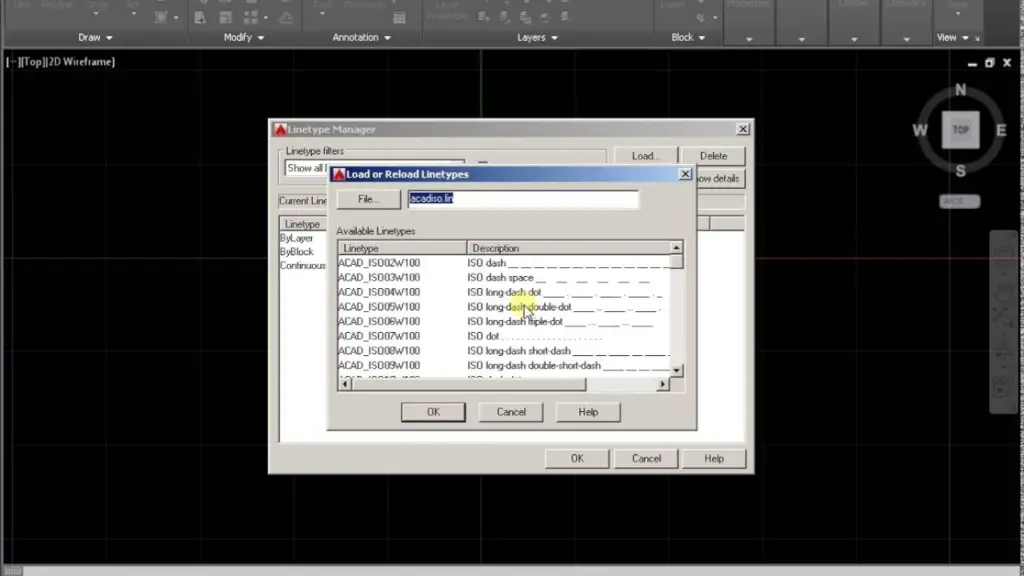
- Step 6: To create a custom linetype, click on the “Linetype” drop-down list and select “Other.” This will open the “Linetype Manager” dialog box. Here, you can create a new linetype by defining the linetype name, description, and pattern.
- Step 7: To create a dotted line pattern, you need to define the pattern using a combination of dots and dashes. For example, to create a dot-dot-dot-dot pattern, you would enter “….” in the “Linetype Definition” field. Once you have defined the pattern, click “OK” to create the linetype. In similar fashion you can create broken line in autocad.
- Step 8: Go back to the Properties palette and select your newly created linetype from the “Linetype” drop-down list. This will apply the dotted line pattern to your line.
- Step 9: You can also apply the linetype to multiple lines at once by selecting multiple lines and then changing the linetype in the Properties palette.
In conclusion, creating dotted lines in AutoCAD is a simple process that allows you to add emphasis, breaks or hidden lines to your drawings. It’s easy to create custom linetype patterns, and you can apply it to multiple lines at once. This is just one of the many features that make AutoCAD a powerful and versatile tool for creating technical drawings and designs.
Are you looking to make autocad Dashed line; here’s how you can do that;
how to make dashed line in autocad?
Don’t know how to draw dashed line in autoCAD?
Similar to how we draw the dotted line in AutoCAD, you can draw dashed line in AutoCAD as well. Just make a line as required on the model. And go the Line Type section in properties. Click the dropdown menu and find the dashed line pattern. You might have to load all the line types to view the dashed line autocad.
How to make broken lines in AutoCAD?
Broken lines are made in AutoCAD with a special line type called dashed line. After drawing the line in AutoCAD; you can reach to the LineType section in Properties of the line and select the broken line pattern in it.