Summer is coming to an end, and it’s time to bid farewell to your beloved above ground pool. Whether you’re moving to a new home, selling the pool, or simply preparing for the winter, dismantling it the right way is crucial to avoid any messy mishaps. Fear not, we’ve got you covered with a step-by-step guide on how to take down your pool like a pro!
Ah, the good old days of carefree summer fun, splashing in the water with friends until our fingers turned into wrinkled prunes. Those were the times when we only saw the joy of jumping, diving, and doing cannonballs into our backyard above ground pool. But as the years went by, reality set in, and the once blissful pool days started to require more and more maintenance. The fun part was shrinking, and the work part was growing like wild vines.

Step One: Draining the Pool – Let the Water Flow!
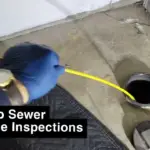
Before you begin the disassembly process, say goodbye to the water in your pool. Grab a water pump or a trusty garden hose to drain the pool effectively. Remember, never drain the water anywhere except a sewer opening to prevent flooding your yard and damaging your precious plants.
Step Two: Bid Farewell to the Pump and Filter
With the water gone, it’s time to remove the pump and filter line from your pool. Detach the hoses and store them safely in a dry place. Give your pump’s plumbing a good cleaning and rinse your filter to keep them in top shape. If you plan to store your filter and pump for the winter, go ahead and do it with a sense of accomplishment.
Step Three: Let the Liner Dry and Shine
A clean liner is a happy liner. Grab a brush and hose down the liner to clean all those surfaces thoroughly. Don’t let it stay damp – let the sun work its magic and dry the liner for about 3-4 hours. You’ll thank yourself later when you see a sparkling pool next season!
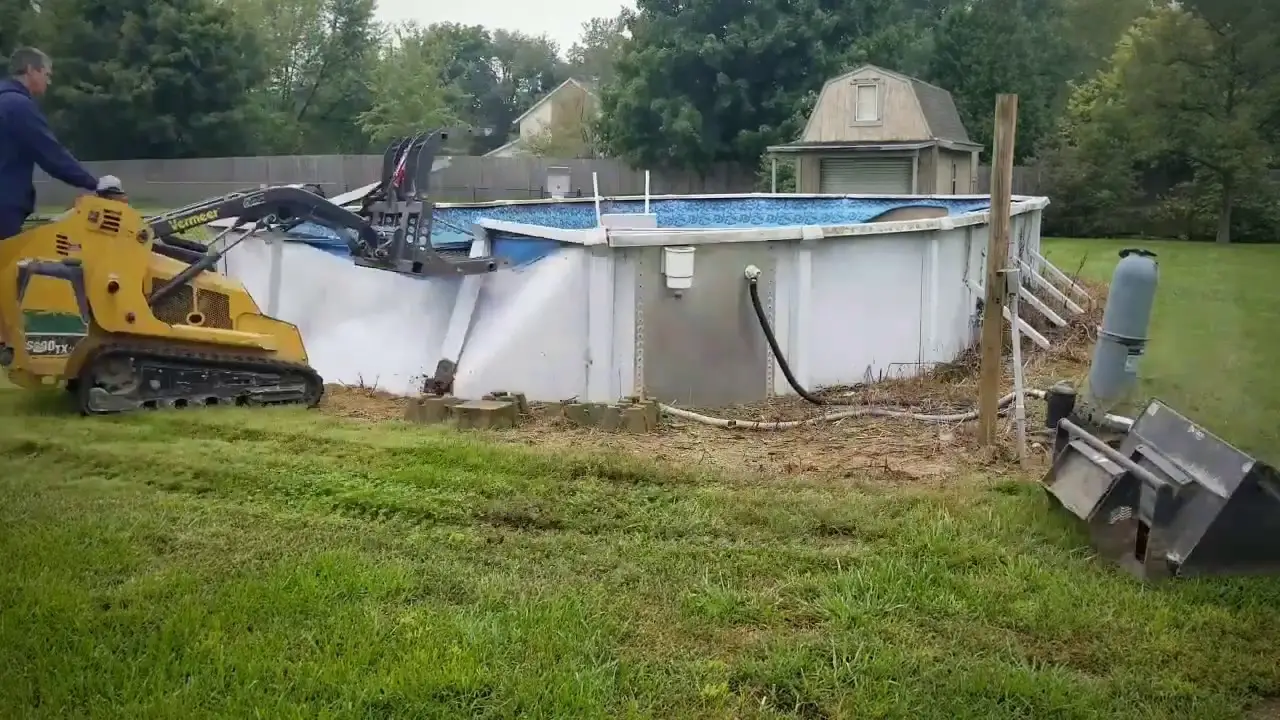
Step Four (A): Dismantling the Frame (Not for Inflatable Pools)
For non-inflatable pools, this is where you’ll take apart the frame. Follow the manufacturer’s instructions and use tools like a drill and wrench if necessary. Gently dismantle the frame without damaging the liner. Metal, resin, or hybrid – they all have their unique ways of coming apart.
Step Four (B): Flattening the Inflatable Pool
Inflatable pools have their own magic; just release the air, and they’ll flatten themselves. Once it’s deflated, you can move on to the next step.
Also Read: How to Paint concrete Bird Bath – For an amazing RESULT (as a BONUS)
Step Five: Pack and Store – Until We Meet Again
Fold up the pool liner carefully, making sure no sharp objects are lurking around. Intex pool owners, follow the folding tips, and roll it up into a neat cylinder. Store both the pool and framing equipment in a warm, dry shed if you’re thinking of storing them for the winter.
Like Us on Facebook!
So, you see pool removal is a bit tricky job that still require some helping hand. That’s where demolition contractors come handy. You can hire one and let them handle the job for you.
Subscribe Us on YouTube!
Also Read: Can We Put Swimming Pool Above Ground On Pavers?
Pool Removal Do’s and Don’ts – Safety First!
Now, let’s avoid some common mistakes when taking down your pool.
Do: Drain Wisely
Always direct the water to a sewer opening. Don’t flood your yard and harm the environment by draining water anywhere else.
Do: Dry the Liner Thoroughly
Before storing, make sure the pool liner is completely dry. Wet liners are an invitation for mold and bacteria, and we definitely don’t want that!
Don’t: Rush the Process
Taking down your pool is not a race. Take your time, follow instructions, and ensure a safe and proper disassembly.
Also Read: 5 Tips for Maintaining Your Concrete Swimming Pool
Don’t: Store Wet Pool Liners
Mold and wet pool liners don’t mix well. Let it dry completely before storing it away to avoid any unpleasant surprises next season.
Breathe Easy with Our Simple FAQ
Now, you might have a few questions. Let’s clear those up!
Q: Is It Difficult to Take Down an Above Ground Pool?
Not really! It might take a day, but with patience and clear skies, you can handle it like a pro.
Q: What Are the Costs Involved in Taking Down a Pool?
Not much! Rent or buy a submersible pool pump, and you’ll also need basic tools like a wrench and screwdriver. Water costs are minimal.
Q: How to Dispose of an Above Ground Pool?
Recycle it! Take it to a recycling center or let a pool seller give it new life.
Embrace the Pool-Free Yard Life
With our guide, you’re now a pool-takedown expert. Enjoy your spacious yard, and if you need any more help, just drop us a line! Happy pool dismantling, and here’s to exciting new beginnings!