
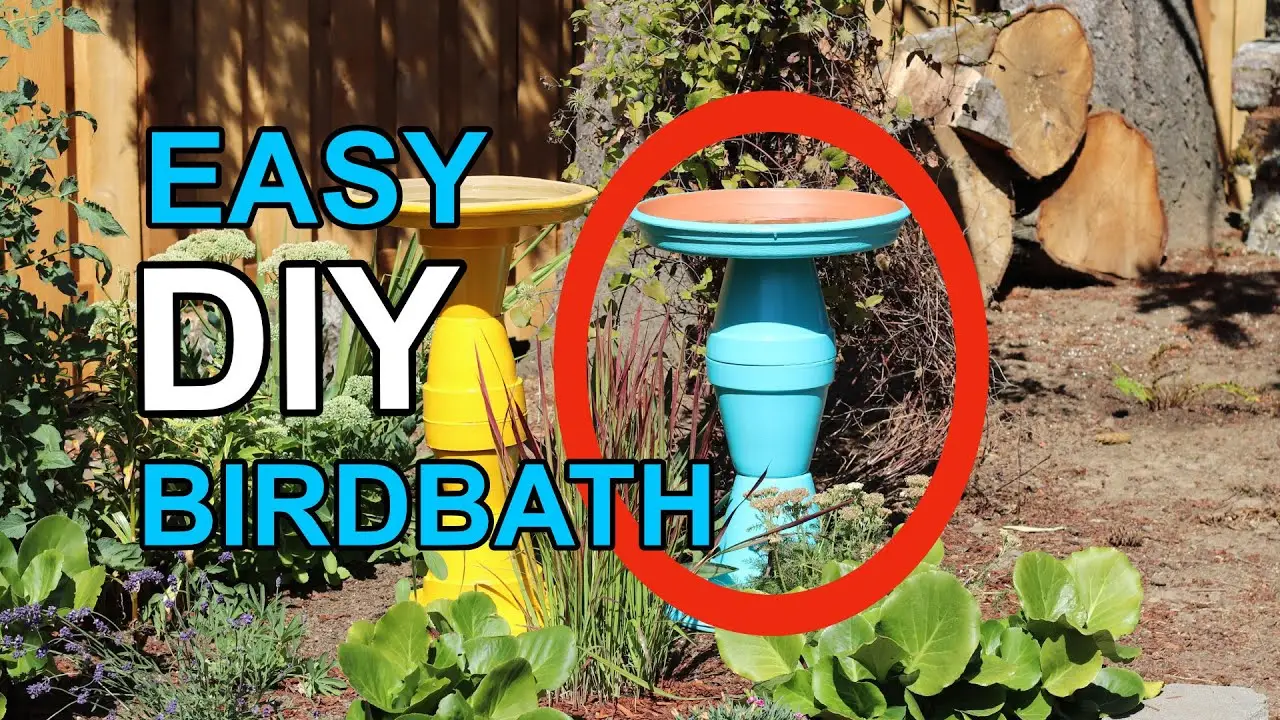
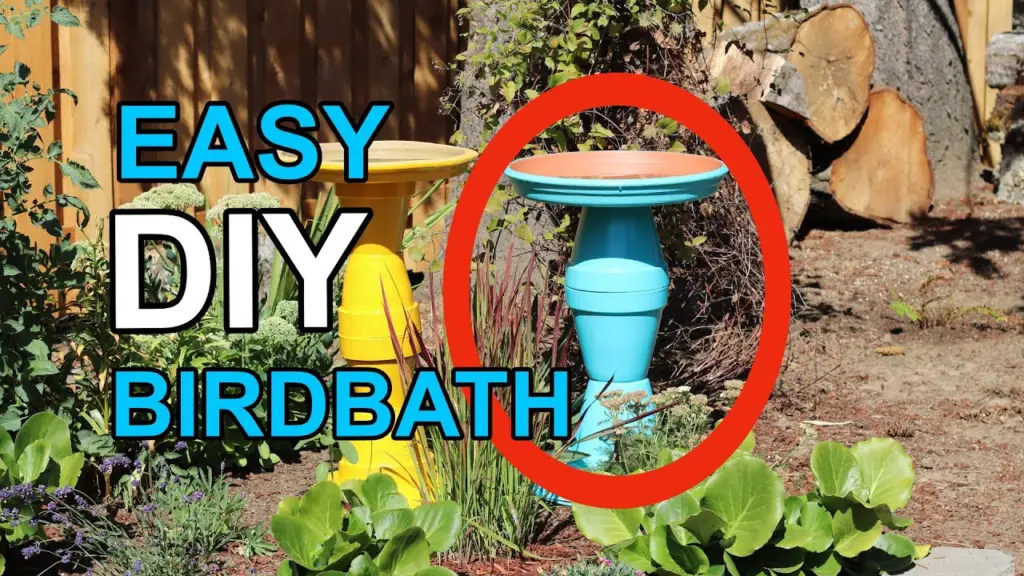
So, you’re a bird-lover or a nature enthusiast and are wondering how to paint concrete bird bath and transform it into an amazing art piece?
Whether you’re dealing with long-forgotten birdbath or some brand new concrete piece, a simple coat of paint can instantly transform it from bland to beautiful. You got couple of options and unlimited combinations. But it’s best that you choice the method and color that blends well with the existing landscape and surroundings.
In our today’s blog I’ve got some awe-inspiring and DIY-easy ways to revive the concrete old birdbath.
So at the end, you’ll be able to easily cover up the cold gray color exposure to outdoor elements and the intended avian knowing all special consideration to have a lasting and safe paint job.
Preparation – Don’t forget to prepare concrete surface
The porous nature of concrete means the bare birdbath surface sucks up paint quickly, but proper surface preparation can limit paint absorption, especially important when you paint designs on concrete.
An old concrete birdbath likely has layers of paint, dirt, and debris built up that must be removed so new paint adheres properly.
Spray off dirt and debris with a garden hose and sprayer nozzle attachment or a pressure washer. Allow the birdbath to dry thoroughly before painting. Scrape paint the bird baths with a painter’s five-in-one tool to remove chipping paint.
To completely remove paint, soften it with a heat gun and peel it off. Alternatively, brush on a chemical paint stripper and scrape off the softened paint after about an hour or the length of time indicated on the product label.
Brush on one coat of masonry block filler, a latex-based primer that fills in porous concrete to make the painting surface smooth. Most block filler primers are ready to use, but some require dilution with water before application.
Also Read: What Paint Do You Use for a Concrete Water Fountain?
Painting – Let’s do this!
Exterior-grade paints hold up best to the outdoor elements and are best for bird baths. You can use oil-based, latex, or acrylic exterior paint.
Oil and petroleum-based paints should not be used on the inside of the water basin where birds drink but are fine for the base and exterior in the pedestal base. Latex and acrylic paints are safe inside the basin after they fully dry.
Brush-on and spray paint are both acceptable for painting a birdbath. To avoid uneven or excess paint, dilute the paint with equal parts water for the first one to two coats.
Apply the final coat with undiluted paint using a dry brush technique in which you wipe most of the paint off the brush before painting. For any paint, allow each coat to dry fully before applying the next coat.
Also Read: Can you paint concrete pavers? (Including Staining)
Finishing – Don’t be in a haste!
A coat of sealer over the dry paint creates a layer of protection. This can include additional UV protection as well as guarding against damage.
For example, if you accidentally hit the birdbath with the tool while gardening, the tool might chip off a bit of the clear coat without chipping the paint. Sealer also keeps the paint from getting dirty; all dirt collects on the clear coat, which can be wiped clean.
Common sealant options include polyurethane and clear coat acrylic, both available in spray and brush-on options. Use only non-yellowing sealer to avoid an unwanted yellow tint.
For added protection on concrete, use a two-part epoxy; it’s made for concrete garage floors and designed to hold up against heavy traffic and spills. Allow the clear coat to dry for a full day before filling the basin with water. Some epoxies may require a longer curing period.
Also Read: Efflorescence – White fluffy mold on concrete? (White Powder)
How to clean the concrete birdbath?
Let’s stay you’ve got a pretty old birdbath that desperately needs to be cleaned; so let’s embark on this much-needed maintenance:
- Empty and rinse with water – So, the first thing you need to do is remove any water, debris, or anything from the birdbath so we can prepare it for cleaning.
- Fight with algae – Now if you’ve missed your weekly chores, you’ll definitely have algae and unsightly grime over there. The algae will put up quite a fight and so you might be interested to use Tilex mold or mildew cleaner. It’s a real game-changer here that can save you from painful ordeal of scrubbing it for hours.
Note: if you don’t want to use harsh chemicals, I recommend using solution of water and vinegar. Or probably a mild dish soap will be enough. Just apply the solution and let it some for few hours before scrubbing it.
- Scrub with brush – But if there’s not much algae you can use a stiff-bristled brush or a scrubbing paid to clean the birdbath thoroughly.
- Rinse – Now you’re all set to clean the birdbath with clean water. If you’ve done the scrubbing right you’ll be able to remove all traces or debris.
Cleaning the birdbath is not a simple job, especially if you ignore the regular maintenance. So, we always recommend that you prevent excessive buildup in future. Try to clean the birdbath once a week or more frequently in summer months.
Also Read: How To Clean Concrete with TSP – Trisodium Phosphate?
Ideas – unlimited methods & best results
Your birdbath paint job could be as simple as a plain white pedestal and bowl to complement other white garden ornaments.
A coat of brightly colored paint makes a birdbath stand out boldly in the middle of the garden bed. If you have several garden features with a weathered or patina look, use multiple colors of paint to match a new concrete birdbath to the aged pieces.
Start with a base color of white or gray paint and allow it to dry completely. Dilute three to five colors or different shades of colors with water in separate bowls (white, black, grey, dark green, light green, and amber work well) for a patina effect.
Blood or squeeze the watered-down paint onto the birdbath from a sponge but do not apply a single color over the entire birdbath.
Alternate colors to fill in the birdbath, resulting in a layered look typical of weathered concrete.
Also Read: Will Wd-40 remove rust from concrete? Here’s how to do it
Our step-by-step guide to paint concrete birdbath
So, here’s our step by step guide and instructions to paint concrete birdbath. We’ll help you transform your concrete birdbath into a beautiful work art.
Step No. 1 – Preparation
Clean the birdbath and remove any algae or scum. There should be no dirt, debris or anything. Try to scrub the surface and rinse in thoroughly. Don’t forest to dry the concrete surface.
Step No. 2 – Choose the right type of paint
Not all paints are created equal and not all are suitable for exterior job. So, try to choose a paint that’s good for outdoor use. Acrylic or latex exterior paints can work well for this project. Don’t choose oil-based paint, they’ll just create a mess.
Step No. 3 – Prime the surface
Now we’re all set to prime the porous surface of the birdbath. You can obtain a masonry block filler primer that’ll help to get a smooth surface. It’s ideal to have a primer because with that the paint easily sticks with the concrete surface.
Step No. 4 – Planning is essential
Before you can pick up the brush and paint the birdbath, it’s best to decide a color scheme, pattern or the look. You can either choose to have a classic solid color look or some bold patterns or a mosaic look.
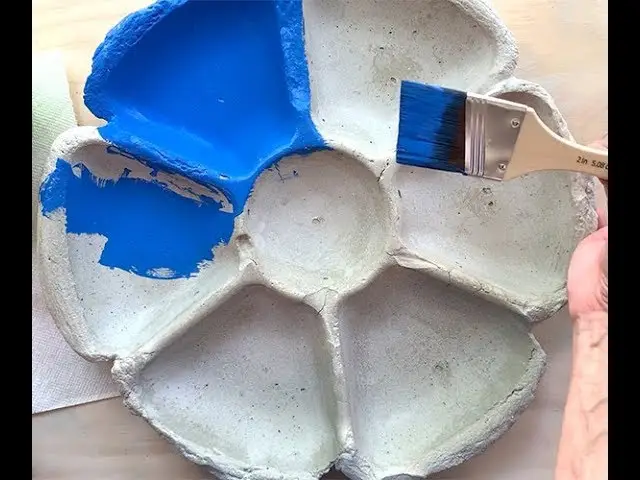
Step No. 5 – Painting
Now with the design in mind, you can use even strokes of brush to apply first coat of paint on the concrete surface. Try to apply the paint evenly and don’t forget to cover all nooks and crannies. You might want to have multiple coats of paint to achieve best results.
Also Read: Wonder Wheel: Tips For Choosing The Perfect Paint Color For Your Walls
Step No. 6 – Sealing
After the final coat, it’s time to protect this masterpiece with clear and weather-resistant sealer. It will protect the paint from UV rays or other damages.
Step No. 7 – Let it cure
Now as you’re done with sealing, let it sit for cure and dry. Give it some time before you can fill it with fresh water.
That’s set !