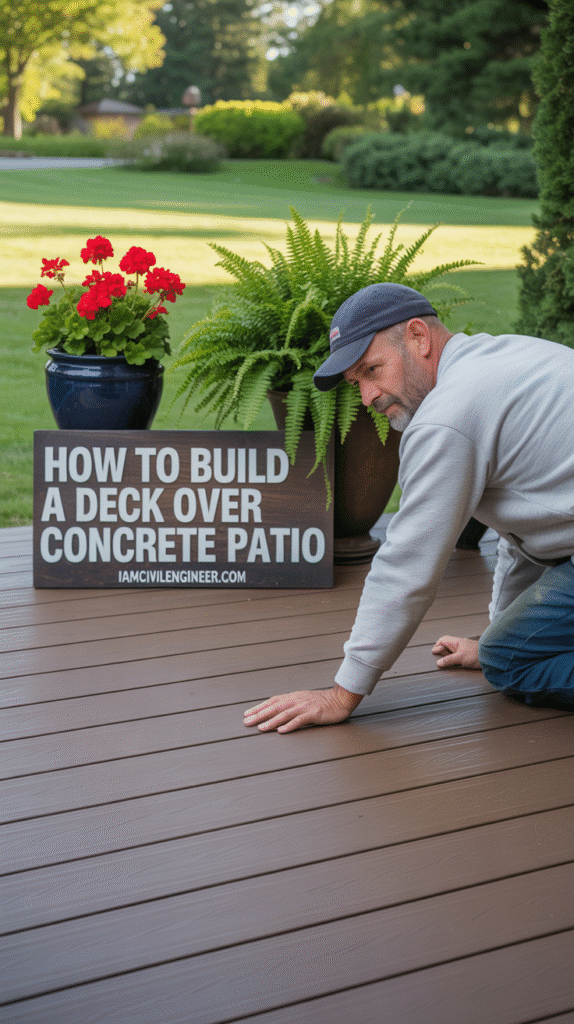
Has your concrete patio seen better days? Maybe it’s cracked, stained, cratered, or uneven after years of frost heave and settling. The patio we worked on for this guide was in exactly that condition—fifty years old, once tiled, then painted, and riddled with damage.
Instead of tearing it out and paying for costly disposal, we decided to cover it with a deck. Building a deck over concrete is one of the best outdoor flooring ideas when your slab is too damaged to repair. With the right approach, you can transform an unsightly patio into a stylish outdoor living space.
In this guide, we’ll walk you through how to build a deck over concrete with advice from two seasoned pros:
- Paul Ricalde (Paul’s Toolbox)
- Sean Collinsgru (Premier Outdoor Living)

Why Build a Deck Over Concrete?
A concrete slab that’s cracked and pitted can’t usually be repaired for long-term use. But instead of starting from scratch, you can build directly over it using sleepers—pressure-treated 2x4s that act as the foundation of your new deck.
“Sleepers are essential if you’re building over a slab,” says Collinsgru. “They slightly elevate the decking, allowing water to drain and preventing rot.”
With this method, you save time, money, and a ton of labor while still ending up with a durable, attractive deck.
Will It Work for My Patio?
Yes—most old patios can handle a sleeper deck, even if they’re cracked or uneven. But keep these cautions in mind:
- Active sinking slabs: If your concrete sinks noticeably year after year, wait until it stabilizes before building. Otherwise, your deck will develop low spots.
- Clearance at doors: The project raises your patio height by 2½ to 3½ inches, so adjoining door thresholds need to be higher than that (plus an extra ½ inch if you live in a frost-prone area).
- Steps: If your patio connects to stairs, you’ll need to raise them by the same amount for consistency. Luckily, concrete steps can be decked over in the same way.
Pros and Cons of a Deck Over Concrete
✅ Pros
- No demo or disposal costs: Concrete is heavy and expensive to remove. Covering it saves big money.
- Faster and cheaper than a full deck build: You get the look and feel of a deck without digging posts or pouring new footings.
- DIY-friendly: With patience, this is a manageable project for intermediate DIYers.
❌ Cons
- Added height challenges: Matching doorways, stairs, and walkways requires careful planning.
- Drainage issues: If your slab doesn’t pitch correctly, you may get pooling water. Seal gaps and level low spots with self-leveling compound before starting.
Safety First
Before picking up tools, keep safety in mind:
- Wear eye protection, dust mask, and hearing protection when cutting wood or drilling concrete.
- Use leather gloves when handling treated lumber and sharp tools.
- Remember: Drill bits get hot when boring into concrete—let them cool before touching.
Tools & Materials Checklist
Tools
- Hammer drill (a quality one will save you time)
- Drill/driver
- Circular saw & miter saw
- 4-ft. level
- Table saw (for ripping PVC spacers/fascia)
- Tape measure & pencil
- Safety gear (glasses, gloves, mask)
Materials
- Pressure-treated 2x4s (sleepers)
- Decking (wood or composite)
- Deck screws & concrete screws (3¼ in. & 3¾ in.)
- Flashing tape
- PVC trim (for spacers & fascia)
- Plastic shims
- Self-leveling compound
Step-by-Step: How to Build a Deck Over Concrete
Step 1: Plan the Layout
Decide how you want your deck boards to run. For a simple design, place sleepers parallel, spaced 16 inches on center. If you want a pattern (like diagonal or herringbone), double up sleepers where boards will intersect.
Step 2: Cut Spacers (Optional)
Use ½-in. PVC trim cut into 2-in. blocks to elevate sleepers slightly. This improves drainage and prevents rot.
Step 3: Position the Sleepers
- Find the highest spot on your patio—start there.
- Lay sleepers across the patio, adding spacers or shims under low spots until everything forms a flat plane.
Step 4: Drill Pilot Holes
Predrill with a masonry bit using a hammer drill. Drill holes slightly deeper than your screws. Keep spare bits handy—concrete wears them out fast.
Step 5: Screw Sleepers to Concrete
Secure sleepers with 3¼-in. concrete screws (or longer if stacked over shims).
Step 6: Check Flatness
Lay a level across multiple sleepers. Shim or adjust where needed.
Step 7: Apply Flashing Tape
Cover the top of each sleeper with flashing tape to block water absorption.
Step 8: Dry-Fit Decking Layout
Lay boards before fastening to avoid ending up with awkward half-boards at the edges.
Step 9: Install Decking
Fasten boards to sleepers with deck screws (two per sleeper). Avoid nails—“they back out over time,” warns Ricalde.
Step 10: Add Fascia
Cover exposed sleeper ends with ½-in. PVC fascia boards for a finished look.
Step 11: Choose Your Decking Material
- Wood: Cheaper upfront, but requires maintenance.
- Composite: More expensive, but long-lasting and low-maintenance.
Step 12: Enjoy Your New Deck
With the structure complete, you’ve given your old patio a brand-new life. Add furniture, planters, or even a pergola for a polished outdoor living area.
Expert Insights
- Paul Ricalde (Paul’s Toolbox, 360K+ YouTube subscribers) has over 30 years of construction experience and has built countless decks over concrete.
- Sean Collinsgru (Premier Outdoor Living, NJ) is a Deckorators Pro-elite builder specializing in unique deck and patio designs.
Their shared advice? Don’t overcomplicate it—plan carefully, use the right materials, and your deck will last for decades.
✅ Final Takeaway: Building a deck over a damaged concrete patio is a smart, budget-friendly upgrade. With sleepers, flashing tape, and a bit of patience, you can skip the concrete demo and create a space that looks just like a custom-built deck.
