
Imagine walking into your basement, garage, or patio and seeing a sleek, glossy floor that looks like luxurious marble — without spending thousands on stone tiles or professional installation. With a few simple supplies, a weekend of effort, and some creativity, you can transform ordinary concrete into a striking faux marble surface.
This guide will show you how to achieve a high-end marble look on any concrete floor, whether indoors or outdoors, using affordable DIY painting techniques that even beginners can master.
Why Choose a Faux Marble Floor?
Marble floors instantly elevate any space, but natural marble can cost $10–$25 per square foot, and professional installation adds even more.
Painting a concrete floor to mimic marble offers:
- 💰 Budget-friendly elegance: Achieve a luxurious look for a fraction of the cost.
- 🎨 Customizable color palette: From classic white and gray veining to warm beige or black marble styles.
- 🧰 DIY accessibility: No masonry or tiling skills required.
- 💪 Durability: A sealed painted floor withstands foot traffic, spills, and weather (for outdoor areas).
- ✨ Aesthetic versatility: Works for basements, garages, patios, and porches.
Tools & Materials You’ll Need
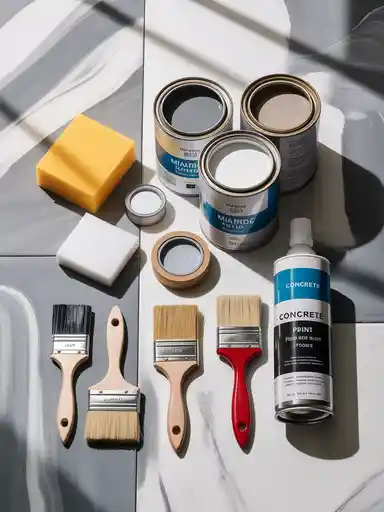
🧰 Tools
- Pressure washer or stiff-bristled broom/brush (for cleaning)
- Painter’s tape and plastic sheeting (for protecting walls or edges)
- Foam brushes and small artist brushes (for veining details)
- Paint rollers and trays
- Sponges and rags for blending colors
- Concrete sealer applicator (roller or sprayer)
🎨 Materials
- Concrete cleaner or degreaser
- Masonry primer or bonding agent
- Concrete paint or stain in 2–3 complementary colors
- Glaze or translucent paint for marble veins
- Clear polyurethane or acrylic sealer (water-based, outdoor-grade if needed)
💡 Pro Tip: Use high-quality concrete paints like BEHR Premium Porch & Patio Floor Paint or Valspar Concrete Stain. For veining, acrylic glazes mixed with the paint create realistic depth.
Step-by-Step Guide: Creating Faux Marble on Concrete
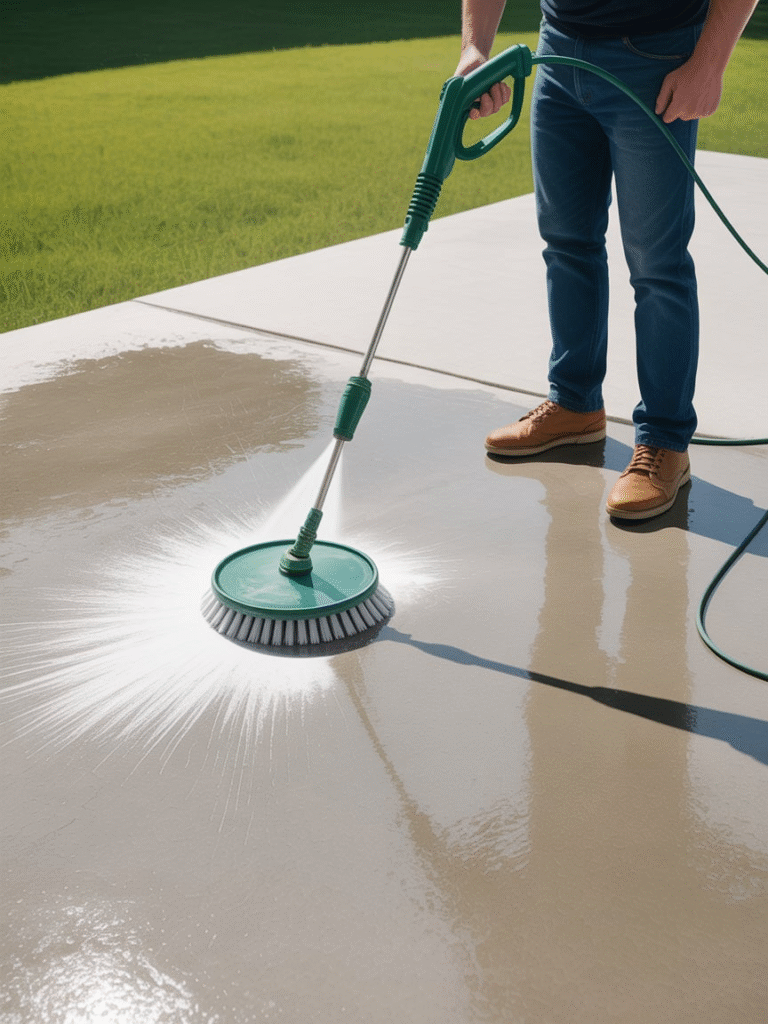
Step 1: Clean and Prep the Surface
Start with a pristine canvas:
- Sweep and wash the concrete thoroughly.
- Remove stains with degreaser or TSP cleaner.
- Patch cracks and smooth rough areas with concrete filler.
- Apply a masonry primer if the concrete is old or unpainted.
Pro Tip: Moisture is the enemy — make sure the floor is completely dry before painting.
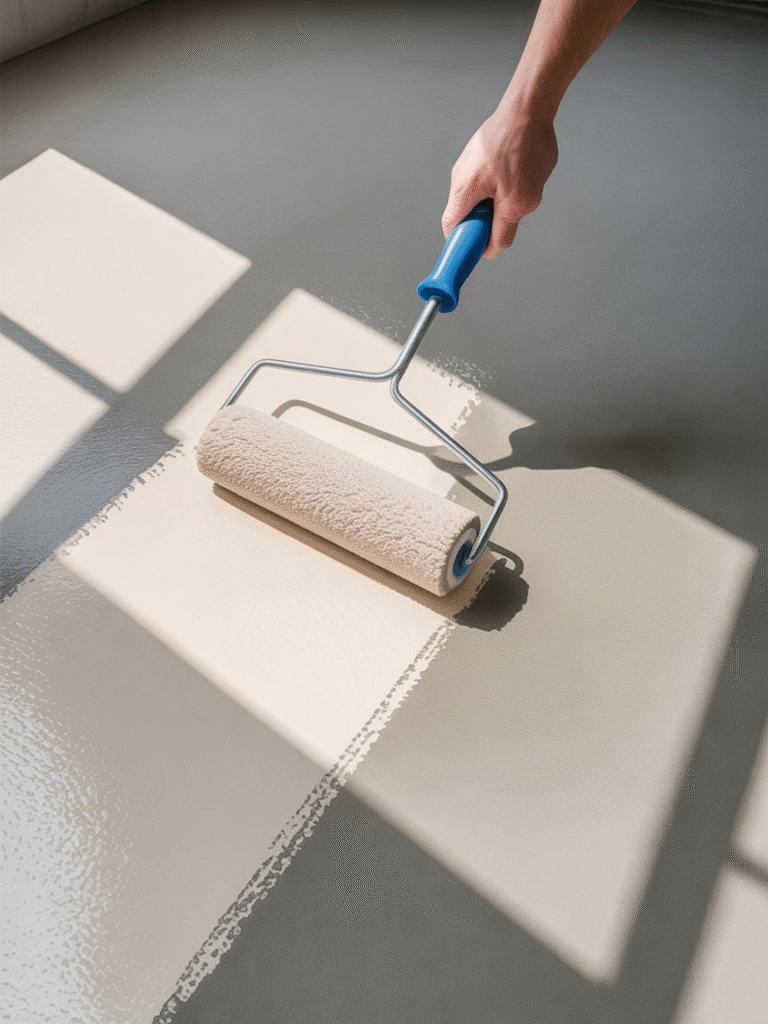
Step 2: Apply the Base Coat
The base coat forms the “marble background.”
- Choose a neutral base color (white, light gray, beige, or cream).
- Roll it evenly across the floor, covering edges and corners carefully.
- Allow 4–6 hours for drying.
💡 Tip: Use a slightly glossy paint for indoor floors; for outdoor floors, matte or satin is better to prevent glare.
Step 3: Plan Your Veining
Marble’s charm is in its veins.
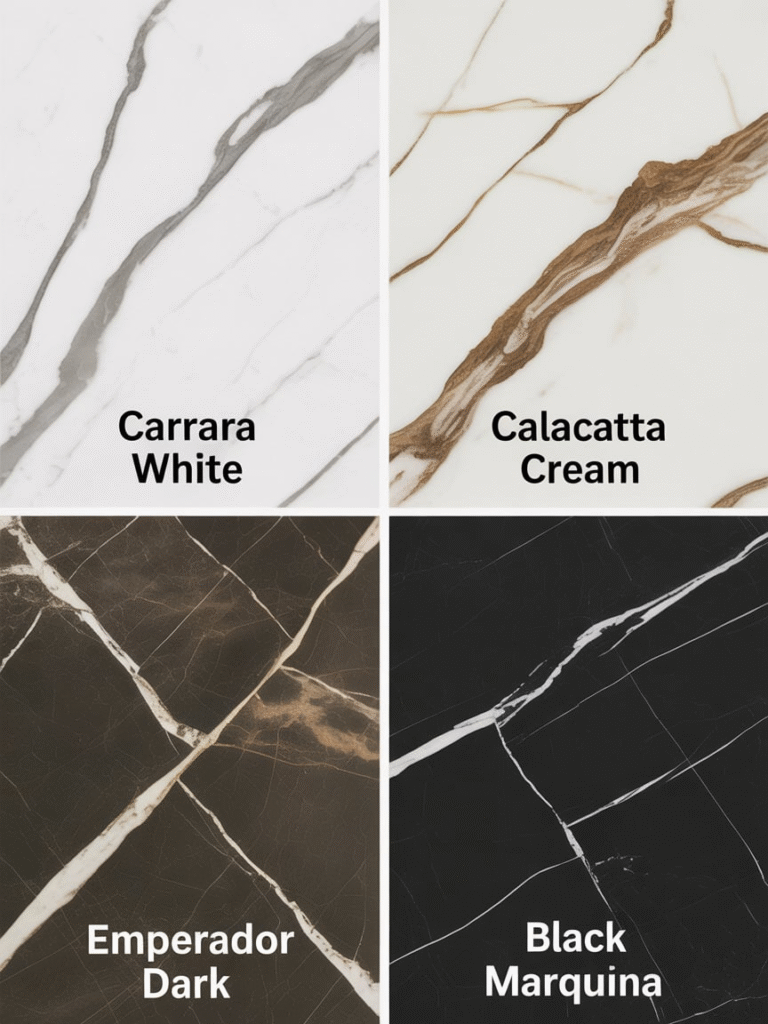
- Study images of natural marble (Carrara, Calacatta, or Emperador) for inspiration.
- Lightly sketch thin, irregular vein patterns using chalk.
- Veins should vary in thickness, length, and intensity — natural marble is never uniform.
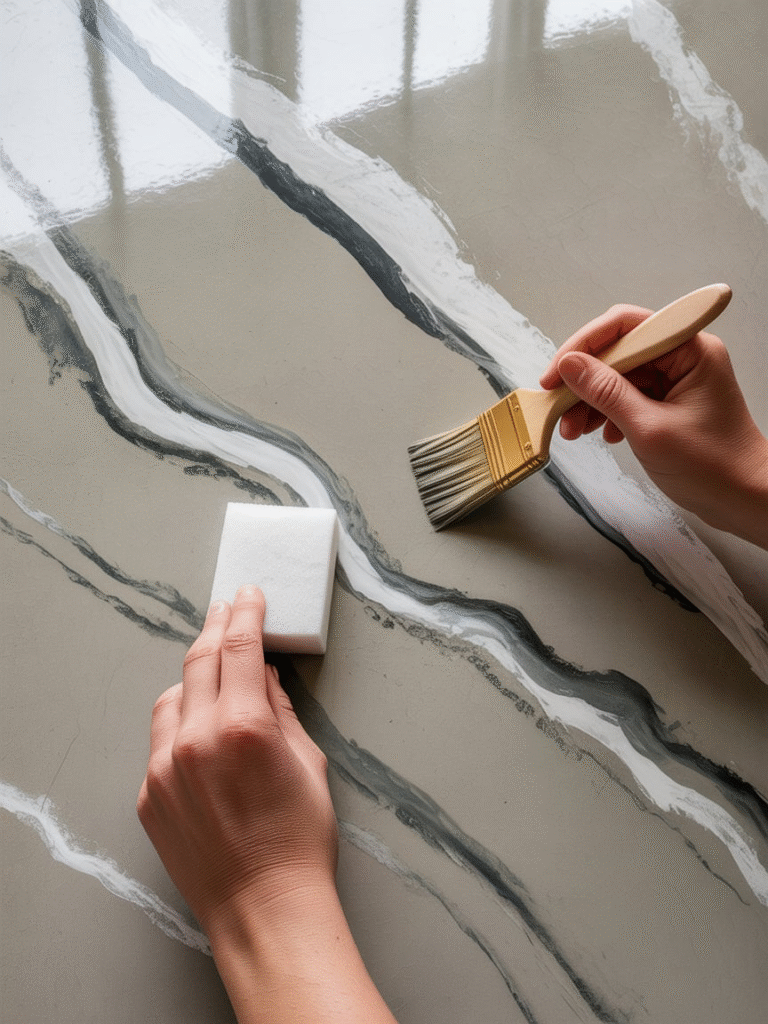
Step 4: Apply Veins and Blending
- Mix a slightly darker shade of your base color with glazing medium.
- Using foam brushes, artist brushes, or sponges, paint veins following your sketch.
- Soften the lines by blotting lightly with a damp sponge to blend naturally.
- Repeat with a lighter glaze for highlights to mimic reflective areas.
💡 Tip: Layering is key — start subtle, then build depth gradually.

Step 5: Add Color Variation
Marble isn’t monochromatic.
- Apply soft washes of complementary colors across the surface for realism.
- Use a rag or sponge to dab, twist, and blend.
- Work in small sections for better control.
Pro Tip: Less is more — subtlety gives a realistic marble effect.

Step 6: Seal the Floor for Durability
A good sealer protects your masterpiece:
- Choose clear polyurethane or acrylic sealer — water-based for indoor floors, outdoor-grade for patios.
- Apply evenly with a roller or sprayer.
- Let dry 24 hours before walking on it, 72 hours before placing furniture.
💡 Tip: For an ultra-gloss marble look, apply 2–3 thin coats of sealer, sanding lightly between coats.
Pro Tips & Common Mistakes
✅ Pro Tips
- Work in the shade or indoors with ventilation to avoid fast drying.
- Keep leftover paint for future touch-ups.
- Practice veins on cardboard first to develop technique.
- Re-seal every 2–3 years for longevity.
❌ Avoid
- Skipping primer or cleaning — paint won’t adhere properly.
- Overdoing veins — marble looks natural with subtle patterns.
- Using interior paint outdoors — UV and weather damage is fast.
Color Inspiration Ideas
| Marble Style | Base | Vein Colors | Best For |
|---|---|---|---|
| Carrara White | White | Gray, soft taupe | Basements, indoor patios |
| Emperador Dark | Chocolate brown | Gold, beige | Modern indoor floors |
| Calacatta Cream | Cream | Gray, light brown | Elegant indoor spaces |
| Black Marquina | Deep black | White, silver | High-contrast outdoor patio or porch |
Maintenance & Long-Term Care
- Sweep or mop regularly with mild soap.
- Avoid abrasive cleaning tools that scratch the finish.
- Touch up minor scratches or chips with leftover paint.
- Reapply sealer every 2–3 years, especially for outdoor applications.
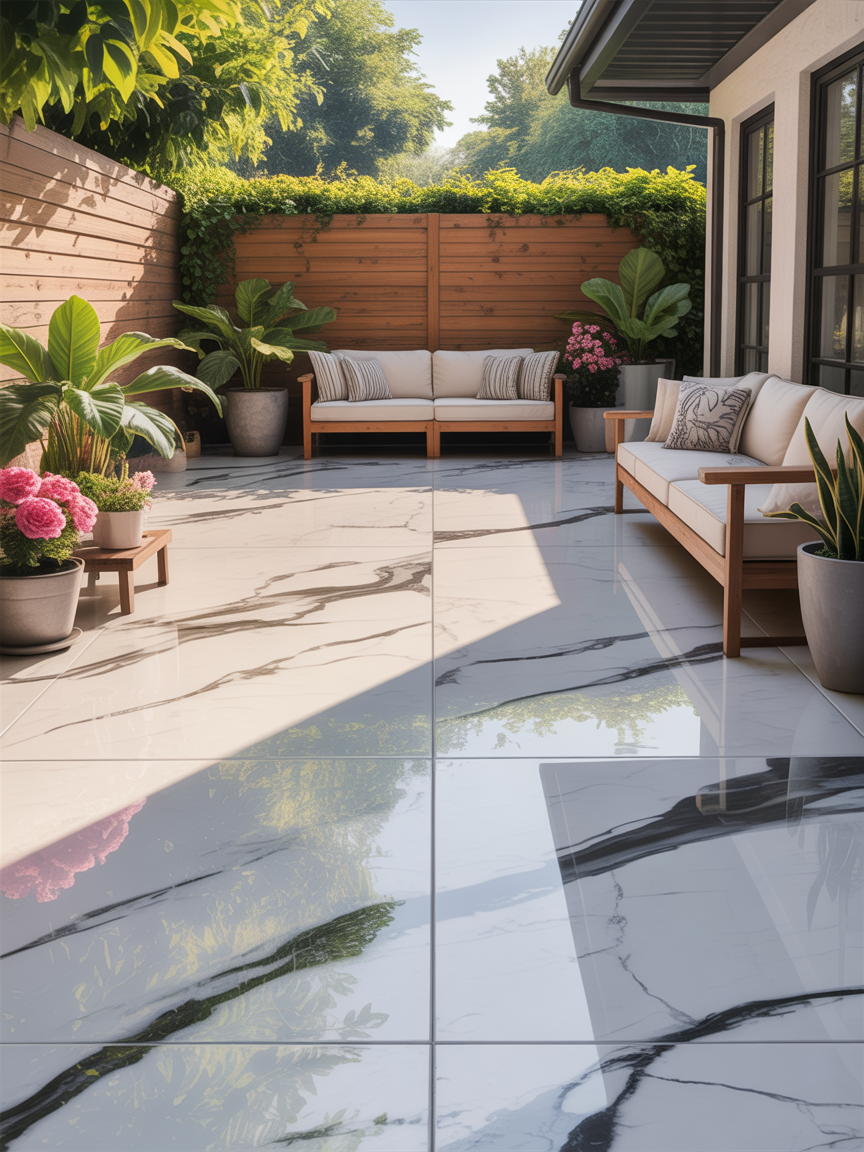
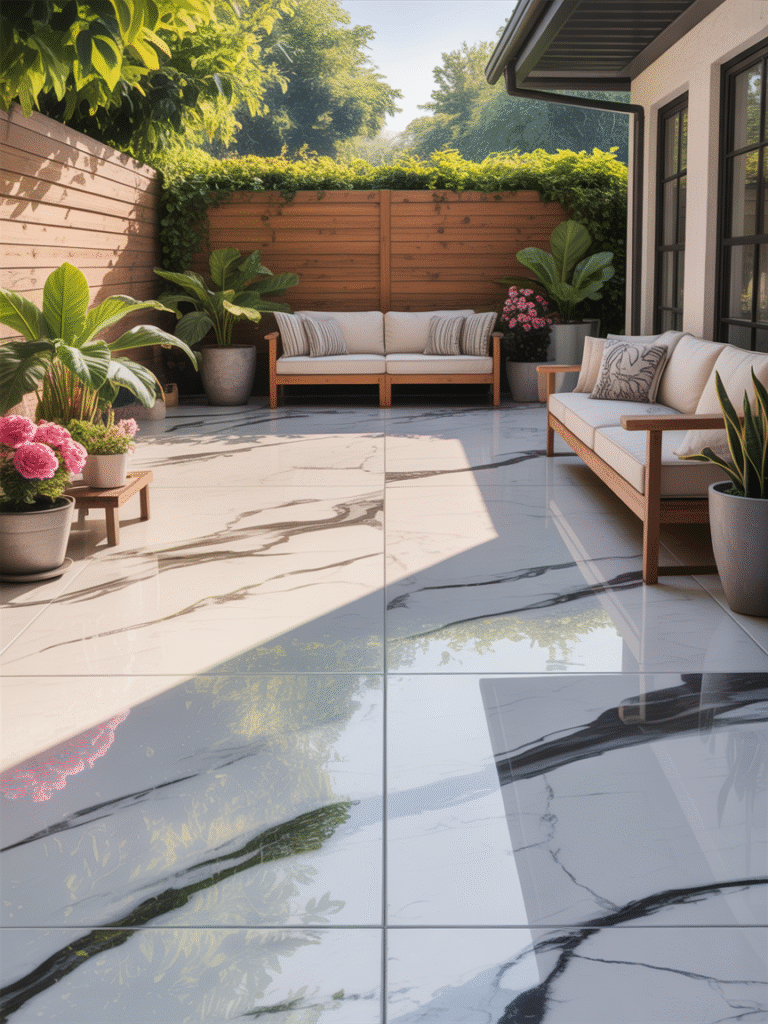
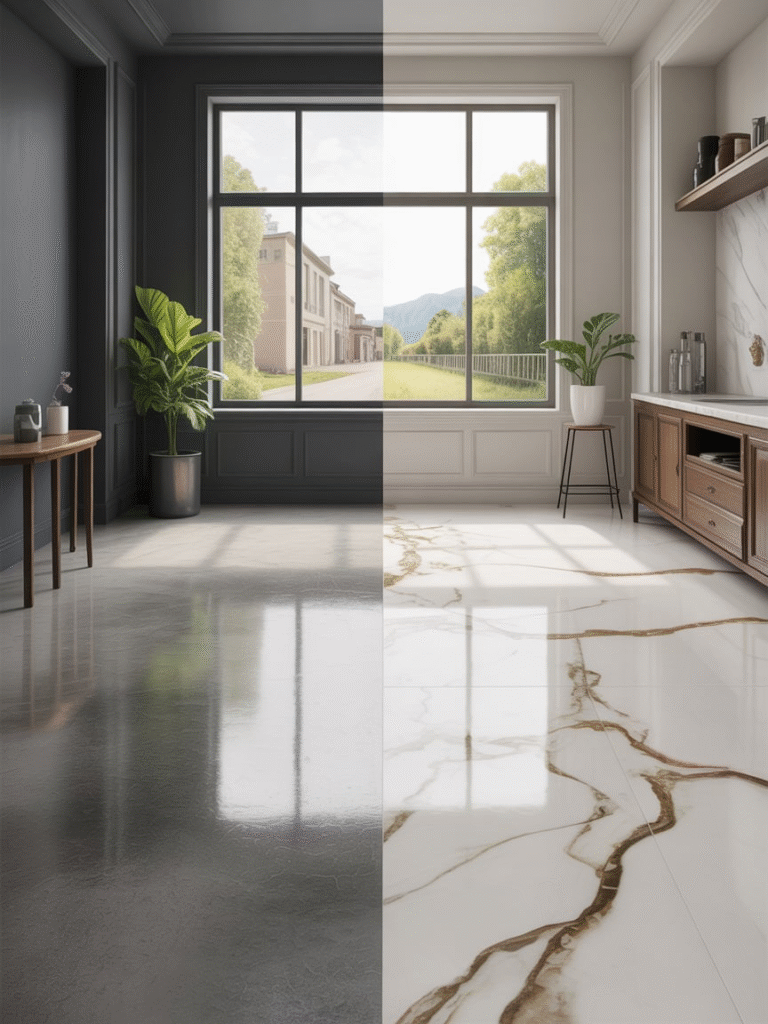
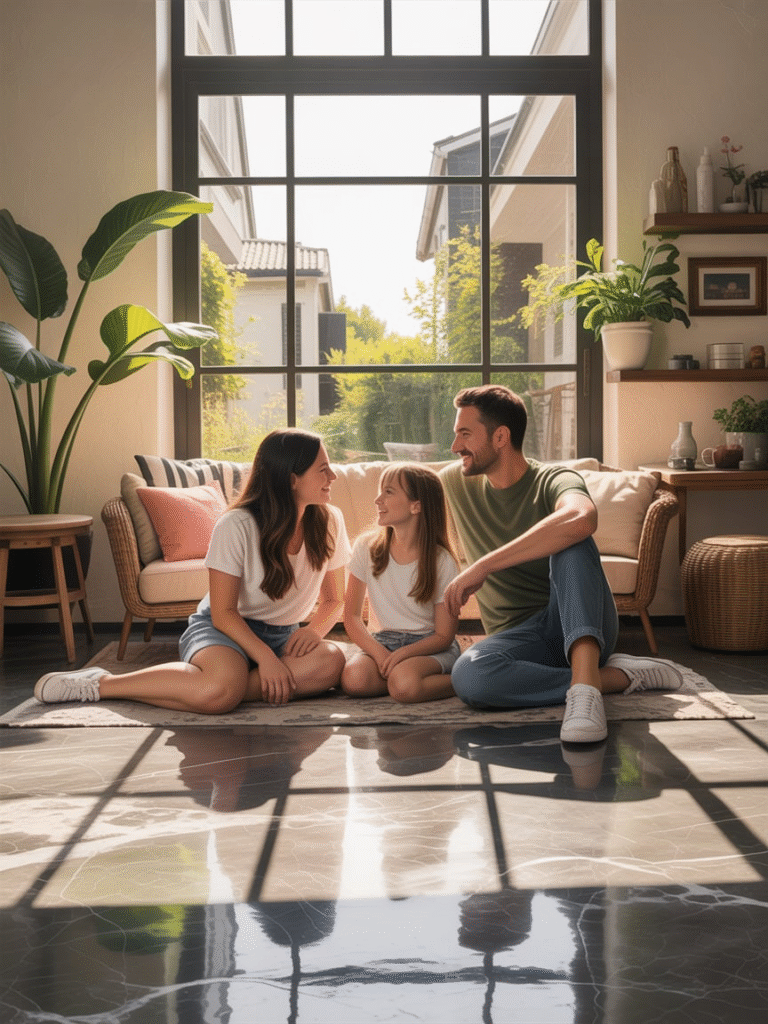
Before & After Imagination Section
Visualize the transformation: a dull gray garage or patio is now a sleek, polished surface resembling luxurious marble. It’s elegant, modern, and dramatically improves the aesthetic — all for a fraction of the cost of real marble.
Conclusion: DIY Marble Magic
With a few coats of paint, some creativity, and proper sealing, you can turn any concrete floor into a luxurious marble-looking surface. This project is approachable for beginners, cost-effective, and highly satisfying.
So grab your brushes, pick your color palette, and start creating a marble masterpiece that will impress everyone who steps on it — indoor or outdoor!