
Here’s the deal: plumbing problems don’t always have to mean calling in a pro and paying big bucks. Many issues are small, visible, and fixable with basic tools — a little time, a calm mind, and the right steps can save you from overpriced repairs or water damage. If you ask me, there’s something satisfying about diagnosing a drip or a clog and fixing it yourself.
But — and this is important — always balance ambition with safety. Some plumbing jobs are best left to licensed plumbers. This guide helps you recognize what you can do, how to do it safely, when to stop, and when to call for help.
We’ll walk through:
- Leaky faucets / dripping taps
- Clogged sink / slow drains
- Running toilets / weak flushes
- Low water pressure in showers
- Leaking pipes under the sink
- DIY ways to unclog a toilet
After that: prevention & maintenance, must-have DIY tools, frequently asked questions, and a final checklist for when to call a pro.
Let’s get started.
🛠️ 1) Leaky faucet / dripping tap
Causes
A dripping faucet is one of the most common — and annoying — plumbing issues. It wastes water, and though each drip seems small, over time they add up in your bill (and your annoyance). Possible causes:
- Worn or hardened washers (for compression faucets)
- Bad O-rings or seals
- Corroded valve seats
- Worn cartridges (in single-handle faucets)
- Mineral deposits preventing a tight seal

Signs
- Drip or constant “tick-tick” even when faucet is turned off
- Water pooling around base of faucet
- Mineral build-up or “white crust” around joints
- Handle that’s harder to turn or loose
Tools & parts you might need
- Adjustable wrench or basin wrench
- Screwdrivers (Phillips and flat)
- Replacement washers, O-rings, or cartridges (take old parts to match)
- Plumber’s grease (silicone-based, safe for seals)
- Rag, small bowl or tray to hold small pieces
Diagnostic flow (if–then style)
- If water drips from the spout when faucet is off → internal seal, washer, or cartridge is to blame.
- If leak is at the base or handle → often O-ring or packing nut.
- If handle is stiff or rough → possibly cartridge damage or mineral buildup interfering with movement.
Step-by-step: Fixing a leaky compression faucet (washer swap)
Compression faucets (separate hot and cold handles) drip mostly because the washer wears down. Here’s how to replace it:
- Shut off the water supply under the sink (hot and cold). If there are no local shutoff valves, shut off the main supply.
- Plug or cover the drain so small parts don’t fall in.
- Remove the handle (usually a screw under a cap or behind).
- Use wrench to remove the packing nut, then pull out the stem.
- Inspect the washer at the bottom of the stem: if it’s worn, flat, cracked or hard, replace it.
- Grease new washer lightly, reassemble everything.
- Turn water back on, test. If no leak, you’re done.
For cartridge or single-lever faucets, the process is similar in spirit but you’ll remove the cartridge or internal parts instead of the stem/washer. Keep parts in order, and don’t force things.
Safety & tips
- Always shut off water before disassembling.
- Use a bucket or towel to catch residual water.
- Don’t overtighten plastic parts — they crack easily.
- Work carefully with small parts — put them in a tray so you don’t lose them.
When to call a plumber
- You can’t locate the leak source.
- You see water spraying or leaking behind walls or under cabinets.
- Multiple fixtures are leaking (could be pressure or main-supply issue).
- The faucet internals are corroded or in poor shape.
Cost estimate (very rough)
- DIY parts: $2 to $30 USD depending on faucet type and brand.
- Professional repair/visit: in many countries, $80–$250 (or equivalent) depending on region and difficulty.
In Japan, for example, basic plumbing service fees often start from ¥4,000 for faucet repairs or simple leaks. suidous.com+1
Small pipe leak repairs are often in the ¥10,000–¥30,000 range. jamieivins.com
🚰 2) Clogged sink / slow drain
Causes
Drain slowdowns or partial clogs build up gradually. Some causes:
- Hair, soap scum, toothpaste, or cosmetics (bathroom sink)
- Grease, coffee grounds, food particles (kitchen)
- Foreign objects (jewelry, utensils)
- Mineral buildup (in older pipes)
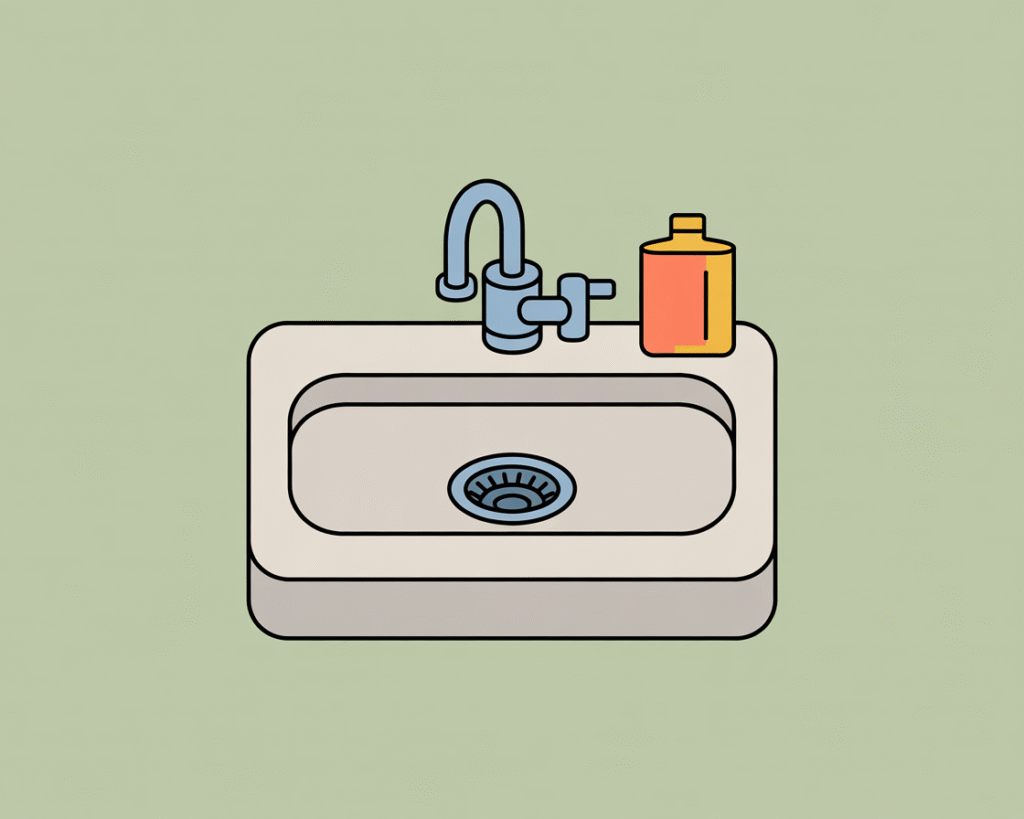
Signs
- Water pooling and draining slowly
- Gurgling noises when other fixtures flush or drain
- Foul odors from sinks
- Occasional backups
Tools & parts you might need
- Sink plunger (cup‐style)
- Hand auger / drain snake (3–6 ft)
- Bucket, adjustable pliers
- Baking soda & vinegar (for mild chemical reaction)
- Rubber gloves, protective eyewear
DIY fixes: step-by-step
A. Plunge + hot water (easy first try)
- Clear visible debris from the top.
- Boil water (careful with handling). Slowly pour boiling water into the drain — especially effective for grease clogs.
- Use the plunger. Seal the sink (block the overflow hole if there’s one), plunge up and down 10–20 times, and then test.
- If still slow, repeat hot water.
B. Clean the P-trap (often the culprit)
- Place a bucket beneath the trap (that U-shaped pipe under sink).
- Loosen slip nuts with pliers and remove the trap.
- Clear out the contents (hair, gunk), rinse or brush.
- Reassemble with new washers if needed.
- Test with water.
C. Use a hand auger (snake)
- Insert the drain snake into the pipe, pushing until you hit resistance.
- Rotate and push gently to break or snare the clog.
- Pull out, test with water, repeat until clear.
D. Baking soda + vinegar (gentler chemical method)
- Pour ~1/2 cup baking soda into drain.
- Add ~1 cup vinegar. Let it fizz 10–15 minutes.
- Flush with hot water.
- Repeat or combine with mechanical methods.
Safety & cautions
- Avoid using boiling water on plastics if unsure — it may soften or damage.
- Don’t overuse commercial drain cleaners — they can degrade pipes and are dangerous to handle.
- Don’t shove wires or sharp objects in — you may damage the pipe or push the clog deeper.
When to call a plumber
- Multiple drains are clogged (possible mainline issue).
- Sewage backup or strong foul odor.
- Snakes/augers don’t work or object is stuck.
Cost estimate
- DIY: often under $0–$50 USD for tools and supplies.
- Plumber: $100–$300 depending on location and complexity.
In Japan, simple drain or pipe unclogging services via ‘Seikatsu Suido Center’ are often priced from ¥4,000 to ¥5,000, with high-pressure cleaning going up to ¥16,000–¥22,000. suidous.com+1
🚽 3) Running toilet / weak flush
Causes

A toilet that keeps running or flushes weakly is both wasteful and annoying. Some usual suspects:
- Worn or misaligned flapper or faulty chain
- Faulty fill valve (ballcock valve)
- Incorrect water level or overflow tube height
- Clogged rim jets or siphon jets (holes under the rim of bowl)
- Partial blockage downstream or venting issues
Signs
- Hissing sound or trickle after tank refills
- Water continuously flowing from tank to bowl
- Weak flush — waste not fully clearing
- Toilet tank refills intermittently
Tools & parts
- Replacement flapper or flapper kit
- Screwdrivers, pliers
- New fill valve (if necessary)
- Vinegar and small brush (for rim jets)
DIY fixes: step-by-step
A. Fixing a running toilet via flapper/chain
- Remove the tank lid carefully (place in safe place).
- Flush and observe how the flapper closes. Is the chain too tight or too loose?
- Adjust chain length — you want a little slack but not too much.
- If flapper is warped or old, shut off water supply, drain tank (flush), and remove flapper. Insert new one.
- Restore water and test.
B. Replace the fill valve (if fill mechanism is faulty)
- Turn off the water to toilet, flush to empty the tank.
- Disconnect water supply line (have a bucket ready).
- Remove old fill valve. Install new one following instructions (adjust height so tank fills to marked level).
- Reconnect supply, turn on water, test.
C. Clean rim jets / siphon jets
Over time, mineral deposits can block the small holes under the rim of bowl, weakening flush.
- Turn off water, flush to partially empty the bowl.
- Use vinegar and a small brush (or pipe cleaner) to scrub the rim holes.
- Let vinegar soak, then flush.
D. If weak flush persists
- Check for partial blockage in the drain or vent pipe.
- Use a toilet auger (longer snake) to clear deeper clogs.
- Inspect vent stack (roof vent) for blockages (leaves, debris).
Safety & tips
- Work slowly and carefully around porcelain — it cracks.
- Don’t over-tighten new parts.
- Take pictures of original setup, so you can reassemble correctly.
When to call a plumber
- You can’t stop the running after replacing flapper or fill valve.
- Multiple toilets are weak (possible system pressure issue).
- Deep blockages or sewer line problems suspected.
Cost estimate
- DIY parts: $5–$30
- Pro visit: $100–$300+ (varies by region)
In Japan, basic toilet repair / unclogging via services start from ¥4,000–5,000. suidous.com+1
In some reported cases, people have paid ¥23,000 just for diagnosis in Japan. Reddit
🚿 4) Low water pressure in shower
Causes
When the shower’s barely trickling, it’s frustrating. Causes include:
- Clogged showerhead (mineral buildup)
- Clogged cartridges or valves
- Partially closed shutoff valves
- Leaks in supply lines
- Shared plumbing demands (multiple fixtures in use)
- Old/deteriorated piping
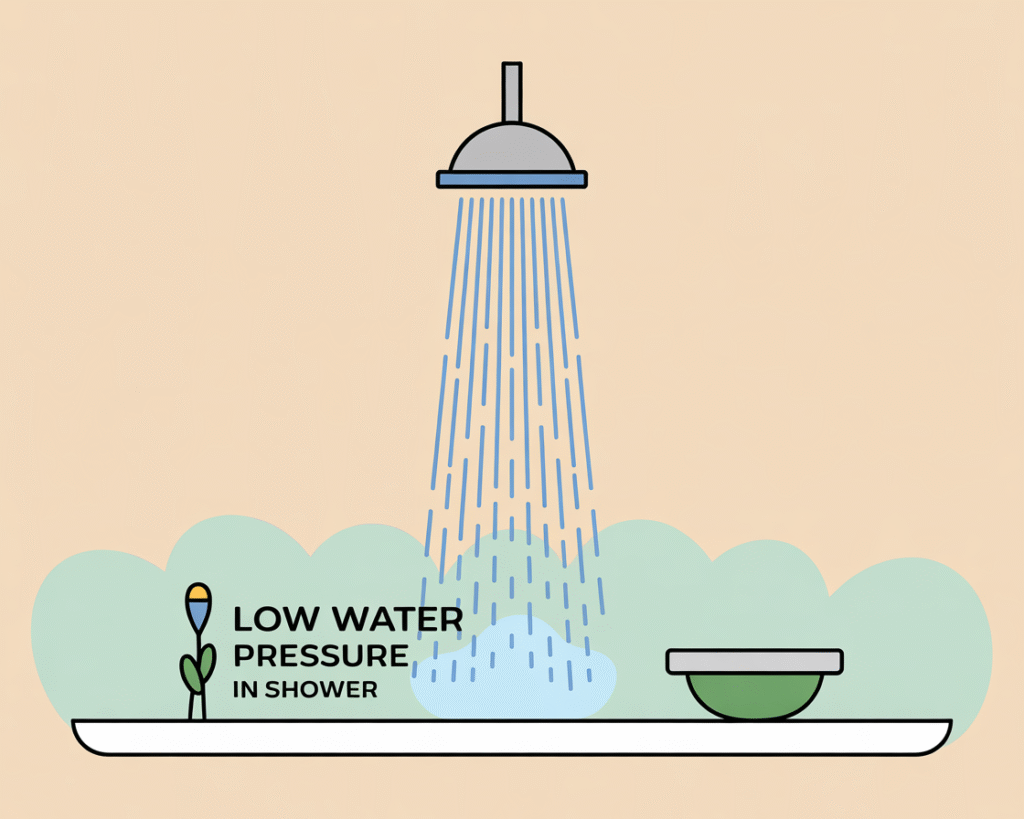
Signs
- Weak stream even though other taps seem fine
- Spray is uneven or sputters
- Changes in pressure when other water uses run (e.g., washing machine)
Tools & parts
- Wrench (adjustable)
- Vinegar, brush, small tools
- Replacement showerhead or internal components
- Teflon tape
DIY fixes: step-by-step
A. Clean the showerhead
- Unscrew the showerhead (usually hand tight).
- Soak it in vinegar (1:1 with water) for 30–60 minutes to dissolve mineral scale.
- Use a toothpick or brush to clear small holes.
- Rinse and reattach (use Teflon tape on threads).
- Turn on water and test.
B. Check valves / supply
- Ensure the shutoff (mixing) valve for the shower is fully open.
- If there is a pressure-balancing valve or cartridge, that may be clogged or failing — you may need to remove and clean/replace it.
- Check for leaks upstream (under the wall) if feasible.
C. Confirm there’s no blockage further upstream
If the pressure drop is present at all fixtures, not just shower, the issue might be at the main valve or a clogged pipe segment.
Safety & tips
- Always relieve pressure before removing parts.
- Use gentle force — don’t twist harshly.
- Be mindful of rubber seals/gaskets — if they look old, replace them.
When to call a plumber
- Pressure is low across many fixtures.
- You can’t get into the valve or cartridge (in-wall).
- Pipes show signs of corrosion or leaks.
Cost estimate
- DIY: likely < $20 (new showerhead or cleaning supplies)
- Plumbing service: $100–$250+ depending on diagnostics and parts
💧 5) Leaking pipes under the sink
Causes
Leaks under the sink are messy and dangerous — water can damage cabinetry, flooring, and more. Some common causes:
- Loose or corroded pipe joints
- Cracked PVC or metal pipes
- Failed washers or seals in the connections
- Damage from shifting, movement, or impact
- Freezing (in cold climates) causing cracks
Signs
- Drips or puddles under sink
- Moisture, mold or wood swelling in cabinet
- Sound of dripping or visible water when supply is on
Tools & parts
- Wrench, pliers
- Replacement pipe sections or fittings
- PVC or flexible tubing (as appropriate)
- New washers, O-rings, slip nuts
- Bucket, towels
DIY fixes: step-by-step
- Turn off water supply to that sink (hot and cold).
- Place a bucket under the leak to catch drips.
- Loosen the offending fitting (slip nut, coupling) with wrench.
- Remove the leaking piece, inspect old washers or seal, clean the connection surfaces.
- Replace washers, O-rings, or the pipe/fitting section.
- Reassemble snugly (but don’t overtighten).
- Turn water on slowly, check for leaks.
If the leak is on a main rigid pipe or inside a wall, that’s more complex and often requires cutting, soldering (for metal), or pipe replacement.
Safety & tips
- Always turn off water before working.
- Use proper pipe materials (PVC, copper, PEX) — don’t mix incompatible types without adapter fittings.
- Check that new parts match diameter and type of existing plumbing.
When to call a plumber
- The leak is inside a wall.
- You can’t access/fix the pipe.
- The pipe segment must be replaced (not just the fitting).
- Multiple leaks or significant damage.
Cost estimate
- DIY: $5–$50 (fittings, new pipe, washers)
- Pro: $100–$300+ depending on access, pipe type, and damage
In Japan, small pipe leak repairs often fall in the ¥10,000–¥30,000 range. jamieivins.com
🚽 6) DIY ways to unclog a toilet
Unclogging toilets is stressful — but you’ve got options beyond panic. Here’s how to go about it safely and effectively.
Tools & items you might need
- Toilet (toilet bowl) plunger (flange style)
- Toilet auger (longer snake)
- Rubber gloves, goggles
- Bucket
- Old towels
Step-by-step methods
A. The plunger (first resort)
- Wear gloves, set up towels around the base in case of splash.
- Make sure there’s enough water in the bowl (not full, but enough to cover plunger cup).
- Insert the plunger and push it in gently, then pull back. Don’t break the seal.
- Continue plunging in bursts.
- Flush to test — if water flows normally, done.
B. Use a toilet auger (snake)
- Insert the snake gently into the bowl, angling it toward the drain.
- Crank slowly until you hit resistance. Don’t force it harshly.
- Rotate to break or hook the clog.
- Pull out the snake carefully.
- Flush and test flow.
C. Hot water + dish soap
If the base flush doesn’t help, sometimes a combination helps:
- Add a generous squirt of dish soap into the bowl (reduces friction).
- Follow with a bucket of warm (not boiling) water poured from waist height to get momentum.
- Try plunging again.
D. Enzyme or enzyme-based toilet-safe cleaners
These break down organic matter, but they are slower. Great for preventive use. Read label to ensure safe for plumbing.
Safety & tips
- Don’t mix harsh chemicals (bleach + acid).
- Don’t use harsh chemical drain cleaners in toilets (may damage parts).
- Be gentle with porcelain — avoid scraping too hard.
When to call a plumber
- Auger fails to clear the obstruction.
- Multiple toilets/backups across house.
- You detect foul sewage odors or backing up into floor drains.
- You suspect a mainline or sewer issue.
🛡️ Prevention & Maintenance
Prevention is your best friend. A little routine care goes a long way. Here are practical habits:
- Use drain guards/screens in sinks to catch hair/food.
- Once a month, flush your drains with hot water (or hot + vinegar mix).
- Avoid pouring grease or oil down kitchen sinks.
- Don’t flush anything but toilet paper.
- Inspect visible plumbing annually (if under-sink, around appliances).
- Tighten loose nuts/fittings early.
- Use a water softener if you live in “hard water” area (to reduce mineral scale).
- Run water occasionally in seldom-used drains to prevent drying of seals.
🔧 Tools every homeowner should own
You don’t need a full plumber’s van. Here’s a compact, practical kit:
- Adjustable wrench / basin wrench
- Set of screwdrivers (flat and Phillips)
- Cup plunger and flange plunger
- Hand auger / drain snake (3–6 ft for sink, longer for toilet)
- Plumber’s tape (Teflon tape)
- Plumber’s grease
- Replacement washers, O-rings, faucet cartridges (some universal kits)
- Bucket and old towels
- Rubber gloves & safety goggles
- Flashlight / headlamp
With those, you’re ready to tackle 80–90% of common plumbing annoyances.
❓ Frequently Asked Questions (FAQs)
Q: Can I use commercial drain cleaners safely?
A: Occasionally, yes — but mostly avoid them. Many are caustic, can damage pipe interiors, and are risky to handle. Use mild (enzyme-based) cleaners or simple mechanical methods first.
Q: How do I know if pipes are corroded or need replacement?
A: Signs: frequent leaks, flaking interior, discolored water, low flow across multiple fixtures. If corrosion is widespread, replacing pipes may be more cost-effective.
Q: Why does my plumbing leak only intermittently?
A: When pressure fluctuates (turning on other fixtures), joints stressed, or temperature changes cause expansion/contraction. Also, small cracks or weakening seals may only leak under certain pressure.
Q: Can I mix PVC and copper or PEX in plumbing?
A: Yes — but only through proper transition/adaptor fittings. Never force-connect incompatible pipe materials.
Q: Why is my water bill high though usage hasn’t changed?
A: Hidden leaks (under floors or walls) or running toilets. Check water meter when all fixtures are off for 30 minutes — if meter moves, you’ve got a leak.
Q: Is a plumber’s quote with “flat fee” always better?
A: Not necessarily. Always get itemized estimates. Sometimes subcontracted work or parts are inflated. In places like Japan, extra fees for nighttime, holidays, or “dispatching” are common, so ask ahead. Japan B+1
🏁 Conclusion & checklist
Fixing plumbing doesn’t have to be scary. With patience, a modest tool kit, and common-sense steps, many leaks and clogs are manageable. That said, don’t push beyond your comfort zone — sometimes involving a professional saves time, money, and headaches. You got this.
When to call a pro — quick checklist
- You can’t find or access the source of the leak.
- Leaks behind walls, under floors, or into structural areas.
- Multiple fixtures affected (e.g. whole house low pressure or multiple clogs).
- Sewer line or mainline problems suspected (backups, odors, widespread flooding).
- High water pressure or system pressure issues.
- After-hours emergency or risk of major water damage.